My friend, Janine and I made a trip to Ikea the other day. On the way, we decided to pull off the freeway in search of a cute little café she had heard of. We didn’t find the café, but we did find THE BEST home store I have found in Portland to date. It is called City Home and it is the most amazing mix of vintage & new, rustic & eclectic. It really has something for everyone. I just know I am going to be back again and again, especially after bringing home this light fixture that I am absolutely obsessed with. And don’t worry, I did get some cute little faux herb plants from Ikea as well, those will be used in a later post.
I wasn’t really planning on doing a blog post on my light fixture but when my husband was so surprise that I was going to change out a light fixture, I thought, many people might be too afraid to do this themselves because they don’t realize how simple it is and what a quick and easy way it is to update to look of your home. I’m thinking this “How To” type of post might become a new thing for Just Like Playing House. Let me know what you guys think and if you like it, I’ll keep ’em coming.
Let’s get started!
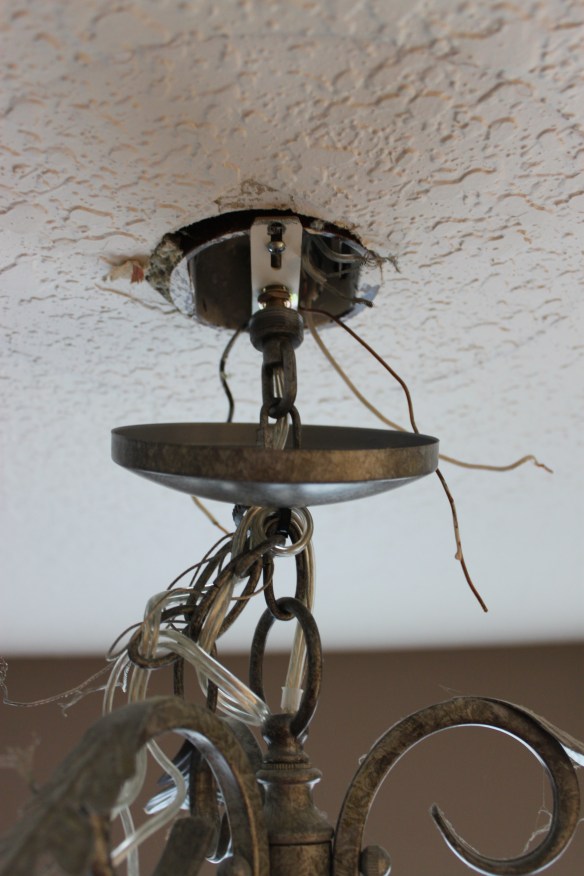
Here is the light fixture that was originally in the space.
Don’t mind the plaster on the walls, just patching some nail holes 🙂 I’m not sure if you can tell from the picture but whoever installed the light had left the wiring hanging down around the fixture. This light had been driving me crazy for so long.
Step 1: Turn off the electricity to the light. Go to your breaker panel and shut off the power source to the right part of the house you are working on. Before getting started with step 2, test the light switch to be sure you turned off the right breaker.
Step 2: Unscrew decorative cap from light fixture to expose wiring. You should find 3 sets of wires twisted together and topped with plastic wire connectors. The wires will most likely be black, white & copper. When your power source is shut off, you can safely unscrew the wire caps and untwist the wires to disconnect everything.
Step 3: Your wires are now disconnected and your light fixture is attached to the ceiling by light mount plate screwed into the electrical box. When you are ready, you can unscrew the light mount plate to remove the fixture. If you are working with a heavy fixture, you may need a second person, 1 to hold the fixture while the other unscrews the light mount.
Step 4: Attach your new fixture to the electrical box with a light mount plate. Again, you might need a second person to help hold the fixture up while you attach the mount plate. New fixtures should come with a mount plate that is already threaded on the wires and ready to attach. Your fixture wires will not look as long as mine do. This fixture was actually wired as a lamp, with a wall plug on the end, so I had to open up the cord to expose the wires. Normally, a ceiling mount fixture will have just enough wire exposed to connect the ends together.

Step 5: Connect your wires together, matching up the wire cover colors, white with white, black with black, and copper with copper. Take the ends, twist them together clockwise and top with a plastic wire connector.
Step 6: Test your electrical work by turning the breaker back on and flipping the light switch. If you light turns on…SUCCESS! You did it!! Turn the light switch off to finish the job
Final step: Attach the decorative cover. Tuck the wires up inside the electrical box and attach the decorative cover. New fixtures will come with some sort of screws to attach this piece.
That’s it!! Now sit back and enjoy your new light fixture!


Omg! Your new light is amazing! I can see why you at obsessed!!!!! Well done on putting it up! Insert cheers here**** Happy fall, Koko 🙂
It makes the whole room! I love your workspace-makes me want to change mine up!