My mom painted our front door black when I was younger and I’m pretty sure I looked at her like she had four heads…and look at me now. Yep, four heads, just like my mama. When I decided to change my front door, what I really wanted was a huge, knotty pine wood front door with a speakeasy grille for a peephole. Like the one on the vacation house in the Hamptons on the current season of Kourtney & Khloe take the Hamptons…anyone know what I’m talking about? However, that kind of thing isn’t in the budget right now so I decided to try painting the door before anything else.
As always, lets start with the before photo:
Nothing special, just a plain white steel front door. To prep before painting, I wiped down the door with a wet rag and then took 200 grit, fine sandpaper and lightly sanded the door to get any imperfections out and also create a rough surface for the paint to stick to. Then I wiped the door down a second time.
I decided to leave the door on the hinges while painting, 1) because I was by myself and didn’t know if I could lift the door once it was off the hinges and 2) because I didn’t want to deal with keeping the dogs away from a wide-open front door and thus having to chase them up and down a large hill which is my neighborhood if they got out. I did remove the doorknob and deadbolt before painting and changed the hinges out afterward. Keep in mind when doing this that you will need to leave the door open partially as it dries between coats, which will take a couple of hours. Mine took about 5 hours to dry between each coat but I also did this on a pretty wet, cold and rainy day. Painting on a dry, warm day will speed up dry times.
For the paint, I chose Rust-Oleum High Performance Protective Enamel in High Gloss Black. This paint is super sticky but it covers well, it took just two coats. The key when you are painting a door is to go slow and to paint in the direction of the panel.
Can you tell how I changed the brush strokes on the different sections of the door? It’s a bit tough to see. Start by painting the deep grooves between each panel, turning your brush horizontally for the top and bottom grooves and vertically for the side grooves. Next, paint main panels that are surrounded by grooves, moving your brush vertically. Third, paint any horizontal panels on the main frame of the door, moving your brush horizontally. Finally, paint the outside and center vertical panels moving your brush vertically. See the diagram below from the blog Love, Pomegranate House…hopefully it helps. She does a great job of demonstrating the flow and direction to take.
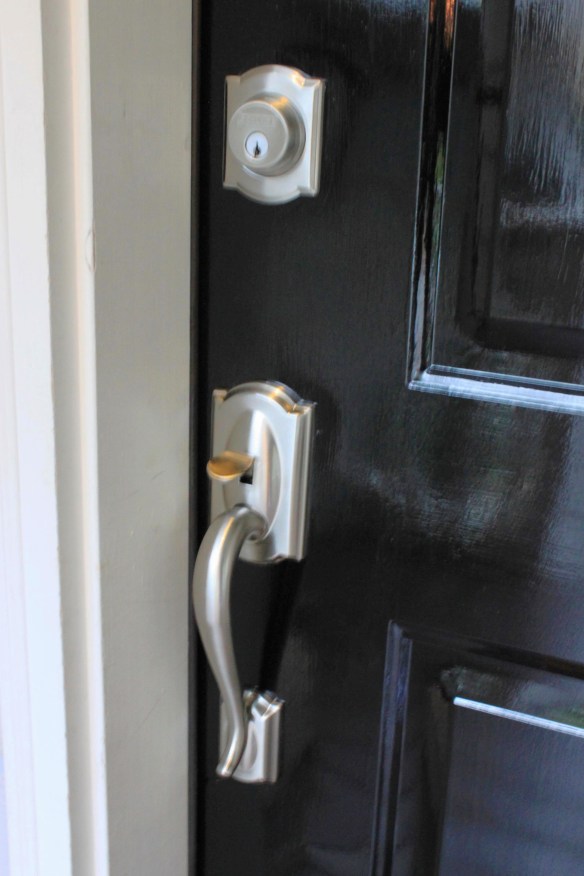
Once your paint has dried, you can change your hinges and put the deadbolt and doorknob back on. I updated mine to a Schlage brushed nickel metal handleset.
And that was it! Any easy update that you can complete in one day to update your home! Would love to hear if you try this out on your own door. Comment on the post and let me know how it turns out!


Absolutely lovely!
HUGE difference! You wouldn’t think paint could do such a phenomenal job, but it’s proven right there on your door. Fab!
Love that BLACK front door looks great. Love the four headed mother
What a huge difference! It looks stunning, especially with the swag. Great job
I love the painted statement doors like this! However, our house is painted a brown color, medium dark tone. The door and trim is white. I want to paint the door to update it but I can’t decide on a color that will look nice without looking tacky! Red is the first that comes to mind, but the neighbor two houses down has that same color palette! haha Any ideas?
Hi Mel,
I think you’re right, the natural choice would be red. You could change it up a bit by selecting a deeper burgundy or maroon shade of red. That would match nicely with the browns. Red was the first big statement door color. If you want to be on the “trendier” side of things though, I think the new statement door colors are blue (a turquoise or sky) and yellow (think daffodil). Let me know if you go forward with painting, would love to see pictures!